Imagine having the ability to transform your living space into a dynamic and visually stunning environment with just a few taps on your smartphone or a simple voice command. This is exactly what an LED Strip WiFi Controller offers. In this guide, we’ll walk you through the steps of using an LED Strip WiFi Controller to create mesmerizing light displays in your home or business.
Understanding the Basics
Before diving into the creative process, let’s go over the fundamental elements you’ll need:
1. LED Strip Lights
Start with a set of high-quality LED strip lights. These are flexible, versatile, and available in various colors and lengths. LED strips are energy-efficient and perfect for creating captivating light displays.
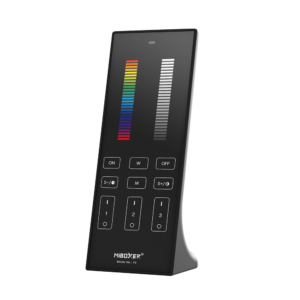
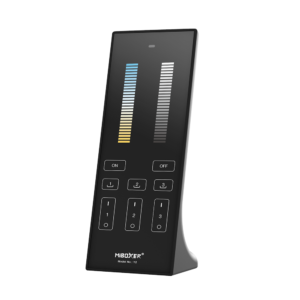
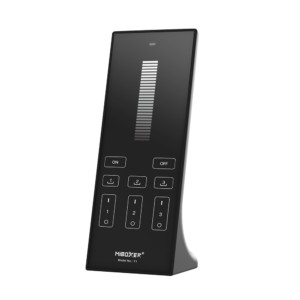
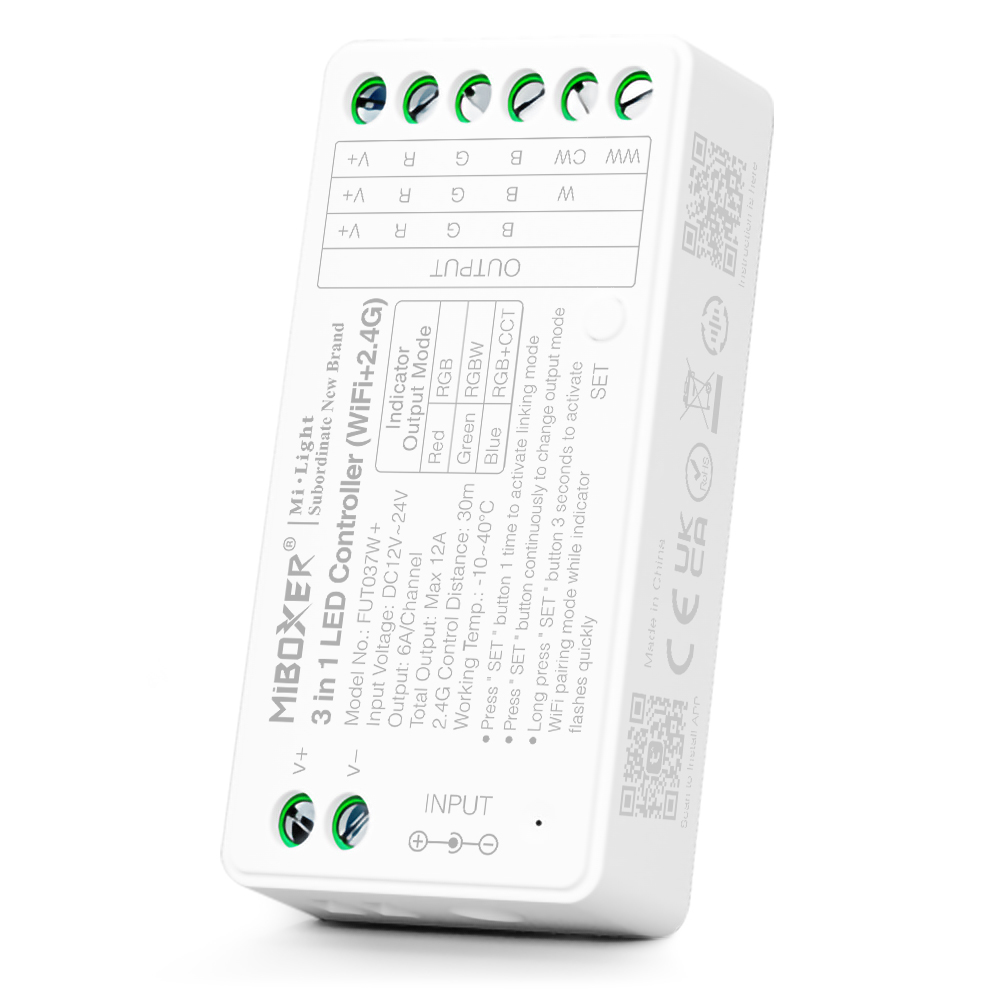
2. LED Strip WiFi Controller
Invest in a reliable LED Strip WiFi Controller. These controllers come in different types and designs, so choose one that suits your preferences and requirements. Ensure it’s compatible with your LED strips and offers the features you desire.
3. Smartphone or Voice Assistant
You’ll need a smartphone or a voice assistant device (such as Amazon Alexa or Google Home) to control the WiFi-enabled LED Strip Controller. Make sure your device is connected to the same WiFi network as the controller.
Setting Up Your LED Strip WiFi Controller
Follow these steps to set up your LED Strip WiFi Controller:
1. Installation
- Plug the LED strip lights into the WiFi Controller. Ensure the connectors match.
- Connect the WiFi Controller to a power source. It should have a dedicated power supply.
2. Download the App
- Download the manufacturer’s app for the LED Strip WiFi Controller from your device’s app store.
- Install and open the app.
3. Connect to WiFi
- Follow the app’s instructions to connect the WiFi Controller to your WiFi network. This usually involves selecting your network and entering the password.
- Once connected, you’ll be able to control the LED strip lights through the app.
4. Voice Assistant Integration (Optional)
If you have a voice assistant device like Amazon Alexa or Google Home, you can integrate it with your LED Strip WiFi Controller. Follow the manufacturer’s instructions for linking your voice assistant to the controller.
Creating Dynamic Light Displays
Now that your LED Strip WiFi Controller is set up, it’s time to unleash your creativity and start creating dynamic light displays:
1. Color Selection
Use the app to choose the colors you want for your LED strip lights. You can opt for a single color or create custom color combinations. Many controllers offer a color wheel for easy selection.
2. Lighting Effects
Experiment with various lighting effects like strobing, fading, or pulsing. Some controllers come with pre-programmed effects, while others allow you to customize your own.
3. Brightness Control
Adjust the brightness level to set the right mood. Dim the lights for a cozy ambiance or turn them up to illuminate the space brightly.
4. Synchronization
Sync multiple LED strips or controllers to work together. This is perfect for creating a cohesive lighting experience in larger spaces.
5. Scheduling and Automation
Many controllers allow you to schedule lighting changes. You can automate your lights to gradually brighten in the morning to mimic sunrise or create a relaxing evening atmosphere.
Conclusion
With an LED Strip WiFi Controller, you have the power to transform your living space into a dynamic and visually captivating environment. Whether you’re looking to create a vibrant party atmosphere, set the mood for a romantic dinner, or simply enjoy the convenience of customizable lighting, the possibilities are endless. By following the steps outlined in this guide, you’ll be well on your way to creating stunning light displays that enhance your home or business.